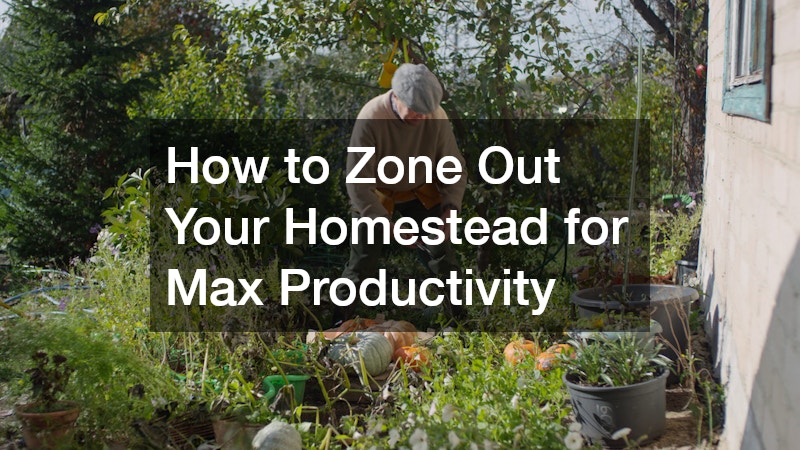
Most homesteaders don’t fail because they lack dedication — they fail because they underestimate the role that physical layout plays in day-to-day sustainability. When your chicken coop is a quarter mile from your kitchen, when your compost pile is buried in a corner you rarely visit, or when your orchard sits on ground that floods every spring, the cumulative weight of inefficiency adds up fast. Zoning is the practice of designing your homestead around how you actually move through it, organizing your land so that the things demanding the most attention are the most accessible, and the systems that run themselves are the farthest out. Getting your zones right from the beginning — or redesigning them with intention — is one of the highest-leverage improvements you can make to your homestead’s long-term productivity.
Start With a Serious Land Assessment

Before you place a single raised bed or dig a post hole, you need to understand your land as it actually exists, not as you imagine it to be. Walk your property at different times of day and in different weather conditions. Take note of where water pools after rain, which areas receive the most sun, where wind channels through, and which slopes drain well versus which tend to stay saturated. This kind of observational groundwork gives you data that no map or plat survey can fully provide.
Once you’ve completed your on-the-ground observations, document them:
- Drainage patterns: Identify low-lying areas that collect water and slopes that drain quickly
- Sun exposure: Map full-sun, partial-shade, and full-shade zones across different seasons
- Soil quality: Dig test holes in multiple locations to assess depth, texture, and organic matter
- Wind corridors: Note prevailing wind directions and any natural windbreaks like tree lines or ridges
- Access routes: Trace how you currently move from the house to the furthest reaches of your property
This assessment becomes the foundation for every zoning decision that follows. Skipping it means making assumptions that will cost you in wasted labor and misplaced infrastructure for years to come.
Clear the Land and Reshape the Ground
If your property is overgrown, wooded, or coming off years of neglect, you cannot accurately assess its potential without first removing what’s obscuring it. Professional land clearing gives you a clear view of the topography, soil conditions, and natural features that will shape your entire layout. Whether you’re dealing with dense brush, fallen timber, or invasive scrub, getting it cleared before you start placing permanent structures is far more efficient than working around it later. Beyond visibility, clearing also changes the conditions of the land — removing heavy canopy opens the ground to sunlight and air circulation, which affects soil biology, moisture levels, and what you can grow.
Not every piece of land comes with conveniently flat, well-drained building areas. If your homestead includes significant slopes, you have two choices: work around them or reshape them. Working around slopes often means limiting yourself in ways that compound over time — cramped growing areas, difficult access, erosion problems. A retaining wall is one of the most practical structural investments on a sloped homestead. Rather than fighting a grade, a well-built retaining wall lets you terrace it, creating level planting beds that hold soil, resist erosion, and dramatically increase your usable growing space. Terraced slopes also improve water management by slowing runoff and encouraging infiltration rather than letting rain sheet off the surface and take your topsoil with it. Options range from dry-stacked stone to timber, concrete block, or poured concrete, depending on the load they need to hold and your aesthetic preferences. For walls over three feet high or on unstable soils, professional installation is strongly recommended.
Design Your High-Attention Growing Area

The area immediately surrounding your home—often referred to in permaculture as “Zone 1″—is the heartbeat of your homestead. It encompasses everything that requires daily or multiple-times-daily interaction: kitchen herbs for tonight’s dinner, delicate salad greens that bolt in a single afternoon of heat, cold frames, seedling nurseries, and small animal housing like rabbit hutches or chicken tractors.
The guiding principle here is efficiency of movement. Every step you save in this core area is a minute of labor you can redirect toward higher-value work elsewhere, like felling timber or managing livestock. Because this area sees the most foot traffic and the most intensive cultivation, its infrastructure cannot be an afterthought; it needs to be your most polished and ergonomic.
A well-designed inner growing area typically includes:
- Ergonomic Raised Beds: Positioned at a height and width that allow for easy harvesting and weeding without back strain. Consider “keyhole” designs or U-shaped beds that maximize planting surface while minimizing the footprint of your paths.
- The Centralized Hub: A dedicated potting bench or seed-starting station situated immediately adjacent to a primary water source. This reduces the “slosh factor” of carrying heavy watering cans and keeps your most fragile starts under a watchful eye.
- Integrated Tool Storage: A small, weather-tight shed or even a simple wall-mounted rack for frequently used hand tools—trowels, pruners, and hori-horis—should be within arm’s reach of your beds. If you have to walk to the big barn to get a pair of snips, those weeds will stay in the ground longer than they should.
- All-Weather Access: High-traffic areas quickly turn into mud pits during the shoulder seasons. Covered pathways or hardscaped walkways using gravel, flagstone, or woodchips are essential to reduce maintenance and keep the “homestead mess” from migrating into your kitchen.
- Point-of-Use Compost Management: On the topic of organic waste, keeping a compost system in this core area is one of the smartest decisions a homesteader can make.
Compost works best when it’s convenient enough to actually use. When tossing kitchen scraps into a tumbler or bin is as effortless as walking ten steps out the back door, the “waste” never feels like a chore. By integrating a multi-bin system or a sleek tumbler directly into the garden workflow, you create a closed-loop system: kitchen scraps go out, and finished black gold goes right back into the raised beds without the need for a wheelbarrow. The closer your compost station is to both your kitchen and your garden beds, the more consistently you’ll feed it and the more readily you’ll apply it when your soil needs a boost.
Install Irrigation Before You Need It
Nothing undermines a productive inner garden faster than inconsistent watering. Hand-watering works fine for a few containers, but once you have multiple raised beds, an herb spiral, a seedling area, and perennial plantings all competing for attention, a manual approach creates a bottleneck. Installing a properly designed irrigation system removes that bottleneck entirely.
Drip irrigation is the most efficient choice for most homestead gardens. It delivers water directly to the root zone, reduces foliar disease by keeping leaves dry, and can be automated to run early in the morning when evaporation is lowest. When you’re deep in a busy harvest season or traveling for a few days, knowing your plants are on a reliable watering schedule removes a significant source of stress.
Key considerations for homestead irrigation design:
- Pressure regulation: Many homestead water systems run at inconsistent pressures; a pressure regulator protects emitters and ensures even distribution
- Filtration: Well water often carries sediment that clogs drip emitters; inline filters are essential
- Zone separation: Group plants with similar water needs on the same irrigation line
- Timer integration: Even a basic battery-powered timer dramatically improves consistency
Plan the Underground Infrastructure and Septic Early
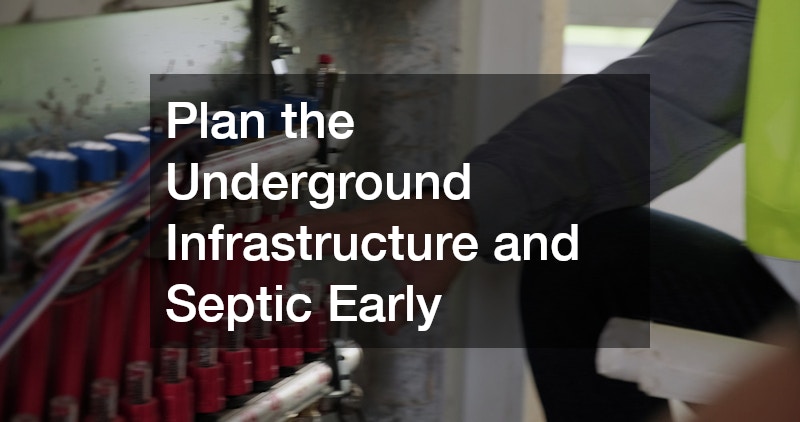
The mid-range working area of your homestead — where you’ll find your primary vegetable gardens, fruit bushes, greenhouse, root cellar, and medium-sized livestock — is also where your underground infrastructure must be planned with the greatest care. Utility lines, drainage systems, water lines, and waste management systems all run beneath this area and must be placed to avoid conflict with future planting or construction. Working with a qualified excavating company during the initial buildout ensures that trenching for water lines, electrical conduit, and drainage systems is done to the right depth, with the right bedding material, and without compromising the structural integrity of the surrounding land. Poorly dug trenches that collapse or improperly bedded pipes that shift over time create expensive, disruptive problems that are infinitely harder to fix after you’ve built over them.
Waste management is one of the most frequently underplanned elements of a new or redesigned homestead. Bringing in a certified septic installer during the design phase, not after, gives you the flexibility to place your system in the most functional location rather than wherever still happens to be available. A correctly sited septic system accounts for soil percolation rates, seasonal water table fluctuations, setback requirements from wells and water features, and the future expansion of your homestead.
What a proper early-phase septic plan includes:
- Soil perc tests to determine absorption capacity
- Setback mapping relative to wells, streams, and property lines
- Sizing calculations based on projected household occupancy
- Leach field placement that avoids conflict with planned tree plantings, driveways, and outbuildings
- Access points for future pumping and inspection
Bring In Engineering and Address Problem Trees
As your layout grows more complex, you’ll encounter challenges that go beyond the skill set of a motivated DIYer. Water management in particular becomes more critical the more land you’re managing. A civil engineer brings a level of precision to drainage planning and site grading that protects everything you’ve built. They can model how water moves across your entire property during heavy rain events, identify where roads and structures are at risk of undermining or washout, and design drainage swales, culverts, and retention features that direct water where you want it rather than where gravity defaults. For homesteads with significant grade changes, clay-heavy soils, or properties near watercourses, this level of planning isn’t optional — it’s the difference between a homestead that stays intact through ten wet winters and one that needs expensive repairs every spring.
On established or revitalized farmsteads, old-growth trees can be as much a liability as an asset. Their root systems extend far beyond the visible canopy, and on a working homestead, those roots have a way of finding exactly the infrastructure you’d rather they didn’t: underground pipes, cisterns, foundation footings, and drainage tile are all vulnerable. Tree root removal, done as part of planned site preparation rather than as emergency remediation, is considerably less disruptive and less expensive. When you’re clearing areas for new outbuildings, extending water lines, or installing drainage systems near the main house, addressing any problematic root systems at that stage preserves the integrity of your infrastructure for decades.
Establish Your Outlying Production Systems
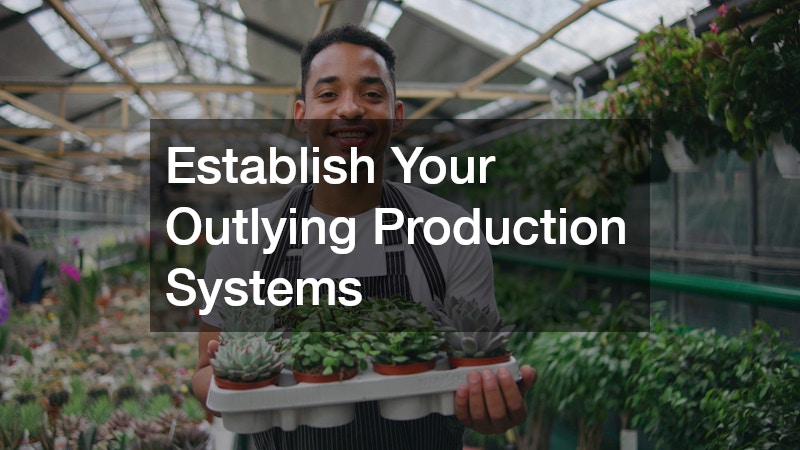
The furthest reaches of your homestead are designed around systems that largely run themselves once properly established. Orchards, berry patches, pasture, woodlots, larger livestock operations, food forests, and managed timber all belong in this outer ring — they require thoughtful initial setup but minimal daily oversight.
Collaborating with local landscape contractors when designing these areas pays dividends in ways that online research simply cannot replicate. Regional contractors bring firsthand knowledge of which species thrive in your specific microclimate, which root stocks are best suited to your soil, how to space a windbreak for maximum effectiveness, and which perennials are likely to naturalize versus struggle. This is especially valuable when establishing orchards, food forests, or silvopasture systems where the planting decisions you make today will define the productive capacity of your land for the next 20 to 50 years.
As your outlying areas become more developed, keeping your utility networks clear and functional becomes increasingly important. Scheduling regular service with a reputable septic and sewer line service provider is one of the easiest ways to prevent the kind of catastrophic failure that brings your entire operation to a halt. Routine pumping, camera inspection of lines, and root intrusion monitoring catch small problems before they become large ones. On a working homestead where the rhythm of planting, harvesting, and animal care rarely pauses, a septic backup in the middle of August is not just an inconvenience — it’s a genuine disruption to your livelihood.
Your Layout Will Evolve With You
A homestead layout plan is not a fixed document. It is a living framework that should be revisited each season as you learn more about how your land behaves, how your needs change, and where the friction points in your daily routine actually exist. What matters is that every decision about where to place a structure, plant a tree, or run a utility line is made with movement, efficiency, and long-term function in mind. Design your homestead around your life, and it will reward that intention with productivity that compounds year after year.