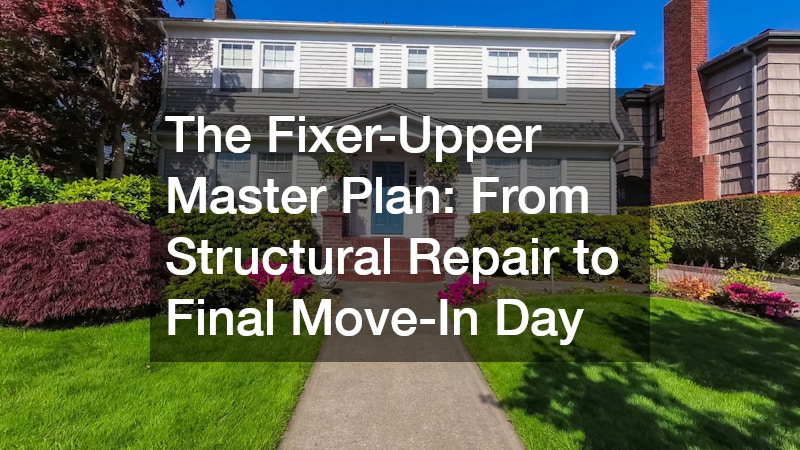
Purchasing a fixer-upper property offers an exciting and financially sound path to homeownership. It gives buyers a unique opportunity to craft a custom living space tailored precisely to their personal tastes while building substantial real estate equity over time. However, turning a weathered, outdated, or neglected structure into a safe, comfortable, and modern haven is far more complex than quick television renovations might suggest. Without a clear master plan, property owners frequently face unexpected expenses, scheduling bottlenecks, and frustrating contractor delays that quickly derail project momentum.
Success in major property transformations requires a structured, methodically sequenced approach. A logical master plan ensures that foundational repairs take absolute priority over cosmetic updates, preserving both the renovation budget and the structural integrity of the building. Placing expensive hardwood flooring, designer tile, or custom kitchen cabinetry inside a house with unaddressed roof leaks or settling footings, for example, risks severe financial loss. Establishing a realistic contingency budget of fifteen to twenty percent further protects owners against unseen hidden conditions, such as concealed dry rot, outdated knob-and-tube wiring, or asbestos insulation. By adhering to a systematic, step-by-step master plan, property owners can navigate every phase of heavy construction and interior finishing with total confidence.
Managing a comprehensive renovation involves balancing multiple specialized trades, local municipal permit requirements, material lead times, and strict safety guidelines. Understanding how each construction phase connects to the next helps property owners make informed decisions at every junction. From initial structural evaluations and utility rough-ins to the final unloading of personal belongings on move-in day, this guide outlines the essential steps for converting a neglected property into a safe, beautiful, and lasting home.
Properly sequencing trade contractors not only controls construction spending but also eliminates redundant labor. For example, knowing precisely when to rough in electrical lines versus when to schedule wall insulation prevents costly wall tearing later. Establishing clear communication channels between project managers and trade specialists keeps everyone aligned on project benchmarks. Ultimately, a disciplined framework transforms an overwhelming fixer-upper venture into an organized, rewarding experience.
Step 1: Evaluating and Securing the Structural Framework
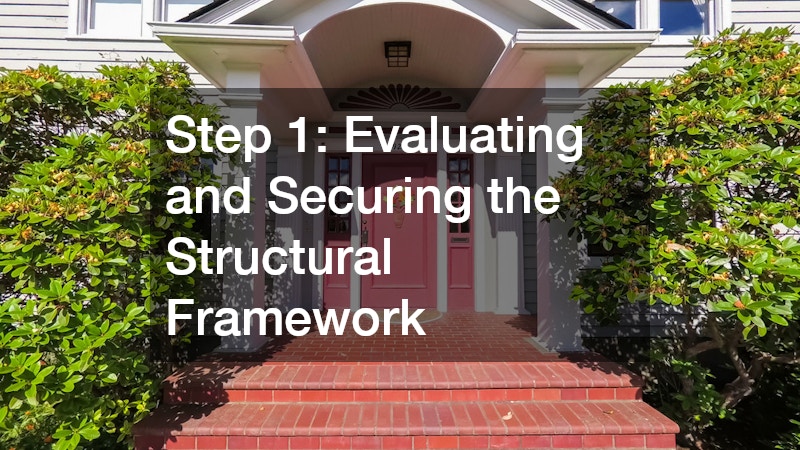
Before selecting countertop materials or paint swatches, every fixer-upper project must address the physical stability of the building. A home must sit on a firm, level footing before any interior drywall or cosmetic work begins. Older structures often exhibit subtle indicators of structural stress, such as diagonal cracks spreading from door frames, doors that stick or swing open on their own, sloping floorboards, or widening gaps along exterior trim lines. Overlooking these early warning signs risks compromising every subsequent improvement made to the property.
When structural movement, framing sagging, or basement wall bowing is identified during early inspections, hiring specialized foundation stabilization services should be the immediate priority. Soil composition, poor perimeter drainage, heavy clay expansion, and age can cause concrete footings to shift or settle over time. Certified structural specialists use advanced engineering methods such as helical piers, heavy-duty steel beams, carbon fiber straps, or concrete underpinning to anchor the home back to stable soil layers. Addressing these issues early, alongside installing proper perimeter drainage, prevents future movement that would otherwise crack new tile work, rupture fresh drywall seams, or misalign custom cabinetry.
Once the underlying footings and load-bearing elements are fully stabilized, attention moves to the overall framing, floor joists, and open-concept layout of the house. Sistering damaged joists, leveling sagging subfloors, and replacing rotted sill plates ensure that the internal skeleton of the home is completely sound. For homeowners seeking to open up dark, compartmentalized floor plans, remove load-bearing walls, or add structural additions, partnering with an experienced custom home builder is invaluable. These professionals evaluate load distributions, calculate proper support beam sizes, and secure necessary municipal construction permits. Addressing water intrusion along the exterior foundation wall by installing exterior waterproofing membranes, French drains, and sump pumps keeps basements and crawlspaces completely dry. Establishing a square, level, dry, and structurally sound shell creates a reliable base for every trade that follows.
Step 2: Overhauling Essential Utility Systems
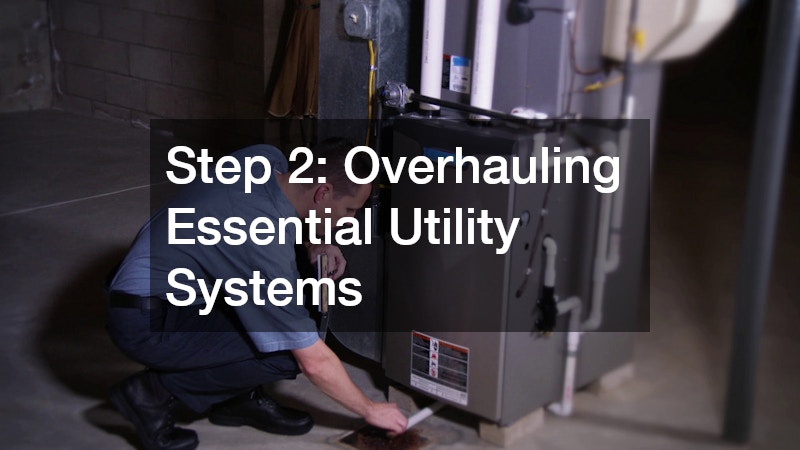
With the primary framing and footings stabilized, the next vital phase focuses on the utility systems running hidden behind walls, under floors, and inside ceiling cavities. Outdated electrical wiring, aging pipes, and obsolete climate units not only reduce energy efficiency but also pose significant fire and water damage hazards. Performing these major system upgrades during the rough-in stage, when wall cavities are completely open and accessible, is vastly more efficient and cost-effective than attempting retrofits later in the process.
Modernizing electrical systems often begins at the main service panel. Upgrading from older sixty-amp or one-hundred-amp panels to a robust two-hundred-amp electrical service provides the capacity necessary for modern appliances, electric vehicle chargers, and central air systems. Simultaneously, water supply lines and drainage networks represent a critical mechanical focus in older properties. Galvanized steel pipes and old cast-iron drain lines frequently suffer from interior corrosion, scale buildup, root intrusion, and low water pressure. Contracting professional plumbing services during the rough-in phase allows licensed plumbers to replace old pipe runs with flexible, scale-resistant PEX supply lines and durable PVC drainage systems. Updating main line connections, installing tankless water heaters, and replacing main shut-off valves protect the home against catastrophic leaks, ensuring consistent pressure and clean water delivery throughout the residence.
Climate control systems require similar technical attention during early construction. Inefficient heating units, failing compressor units, and leaky duct networks account for a massive portion of monthly utility expenses while contributing to poor indoor air quality. Engaging licensed HVAC services ensures that heating and cooling loads are accurately calculated for the home’s updated insulation values and total square footage. Technicians can run new insulated ductwork, install high-efficiency heat pumps, and set up multi-zone control systems with advanced filtration. Installing smart programmable thermostats allows homeowners to monitor energy consumption and adjust temperatures remotely. Proper airflow design, balanced returns, and modern duct sealing guarantee optimal temperature balance and air quality once the interior is fully enclosed.
Step 3: Transforming Interior Layouts and Wet Areas
After the structural framework and rough mechanical systems pass local municipal inspections, the project transitions into interior space planning and surface preparation. This phase closes up open wall studs with high-density insulation and drywall, bringing functional, aesthetic concepts to life. Adding acoustic soundproofing insulation between interior bedroom walls and living areas drastically reduces noise transmission. Focus centers on high-impact areas that directly influence daily comfort, family functionality, and long-term resale value.
Bathrooms demand specialized technical care due to constant water exposure, high humidity levels, and complex plumbing configurations. Working with experienced specialists in bathroom remodeling ensures that wet areas receive appropriate waterproofing, subfloor reinforcement, and adequate mechanical ventilation. Subfloors must be stiffened with thick exterior-grade plywood or cement backer board to prevent flexible tile grout lines from cracking under weight. Liquid waterproofing membranes protect wall cavities behind showers and soaking tubs. Upgrading these spaces with double vanities, low-flow plumbing fixtures, custom tile enclosures, built-in storage niches, and efficient exhaust fans turns outdated facilities into bright, modern spaces built to endure heavy daily use.
Coordinating overall interior design across the entire floor plan creates a harmonious living environment. Executing comprehensive home remodeling projects allows homeowners to reconfigure living rooms, widen narrow hallways, expand storage closets, and modernize kitchen work zones based on ergonomic principles. Installing fire-rated drywall, applying professional plaster finishes, and choosing quality floor underlayment prepare every room for final decorative choices. In kitchen areas, ensuring wall studs are plumb and subfloors are level prevents gaps behind cabinetry and stresses on stone countertops. Careful execution during this stage ensures that walls are plumb, corners are crisp, and subfloors are level across every square foot of the residence.
Step 4: Fortifying Exterior Enclosures and Smart Security
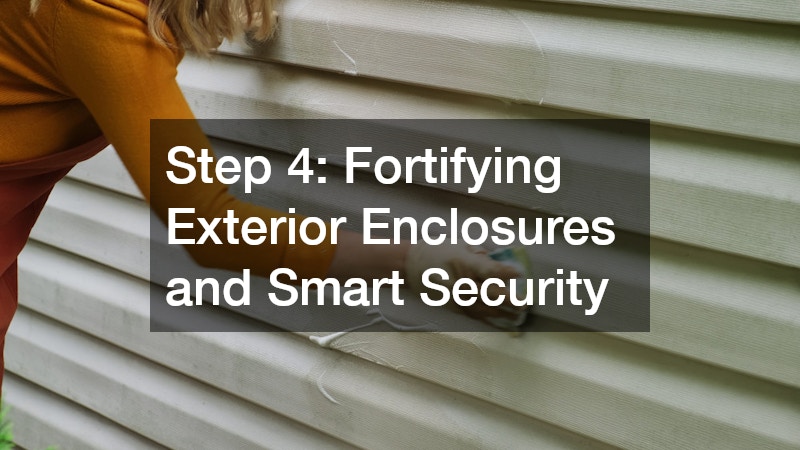
While interior rooms are taking shape, protecting the exterior perimeter of the property is equally vital. The exterior shell shields interior finishes and newly installed mechanical systems from moisture, driving wind, and seasonal temperature fluctuations while establishing curb appeal and security. Entry doors, double-pane energy-efficient windows, and garage spaces must be durable, weather-tight, and secure against potential weather events or intruders.
Garages often serve dual purposes as vehicle storage, workshop space, and primary entryways for active households. Engaging experienced garage door installers ensures that heavy overhead doors are properly balanced, well-insulated, and equipped with modern safety sensors and durable torsion springs. Insulated steel, wood composite, or aluminum garage doors help maintain thermal control in attached garages, reducing unwanted heat loss or gain in adjacent living quarters. Reliable automatic openers with rolling-code technology, battery backups, smart phone connectivity, and smooth belt drives provide convenient daily access while enhancing overall home security.
Securing the front perimeter of the home has evolved significantly beyond traditional mechanical deadbolts and basic porch lights. Today’s property owners prioritize integrated smart security systems that provide real-time visual monitoring and remote access control. Hiring dedicated front door camera installers during exterior finishing ensures that video doorbells, motion-activated floodlights, and electronic smart locks are hardwired directly into the home’s electrical panel. Hardwired camera setups, paired with high-definition night vision and local cloud storage, eliminate battery maintenance issues and deliver reliable video feeds. This allows homeowners to monitor package deliveries, screen visitors, and track perimeter property activity from anywhere using smartphone software.
Step 5: Applying Custom Finishes and Window Treatments

As heavy construction and major trade work wrap up, the project shifts to fine interior finishing. This stage brings color, texture, light control, and personal style into the home through millwork, paint, decorative lighting, and custom window coverings. Systematic execution during this phase elevates the overall quality and comfort of the interior living space.
Window treatments play an essential role in regulating indoor temperatures, managing natural light exposure, and securing family privacy. Working with professional window blind services enables property owners to choose custom-fit window coverings tailored to the exact dimensions and sun exposures of each room. From motorized roller shades and wooden plantation shutters to insulated honeycomb blinds, proper window coverings block damaging ultraviolet rays that fade hardwood floors, rugs, and furniture. Selecting light-filtering options for common areas and blackout blinds for bedrooms optimizes light control, while integrating motorized shades into home automation networks allows for scheduled opening and closing throughout the day.
Final interior touches also include applying smooth paint coats, hanging interior doors, and installing decorative trim like crown molding, window casing, and baseboards. Selecting appropriate paint sheens, such as satin or eggshell for living walls and semi-gloss for trim, ensures easy cleaning and durability. Applying high-quality primer and durable interior paint protects drywall surfaces and brightens interior rooms. Flooring installation, whether solid hardwood, luxury vinyl plank, or natural stone, should occur after messy trade work is fully completed. Additionally, installing heavy-duty door stops prevents door handles from punching holes in fresh drywall. Protecting newly installed floors with temporary floor protection paper keeps surfaces pristine while final light fixtures, outlet faceplates, switch covers, and cabinet hardware are installed.
Step 6: Managing the Final Transition and Settlement
With all construction completed, final municipal building permits signed off, and deep post-construction cleaning finished, the property is ready for occupation. Conducting a thorough duct cleaning service before moving in removes construction dust, drywall particles, and sawdust from the ventilation system, ensuring clean indoor air from day one. Moving into a freshly renovated home requires careful planning and coordination to protect fresh paint, pristine floors, and new fixtures from accidental bumps or scratches during move-in day.
Transporting heavy furniture, bulky appliances, and boxed personal belongings into a newly updated home requires professional care and specialized equipment. Hiring experienced movers ensures that large items are safely navigated through narrow hallways, entryways, and stairwells without damaging delicate drywall or scratching hardwood flooring. Professional moving crews utilize floor runners, door jamb protectors, corner guards, and heavy-duty moving blankets to safeguard the property throughout the move. Scheduling move-in activities after all sub-contractors have completed their final punch-list items prevents overcrowding in driveways and keeps interior pathways clear.
Once unpacked and settled, homeowners should establish a proactive preventative maintenance schedule and compile a central binder containing appliance warranties, vendor contact records, and permit documents. Regularly changing climate filters, inspecting exterior caulking around windows, checking plumbing connections under sinks, and testing security cameras ensures that the property maintains its functionality, efficiency, and beauty. Unpacking essential items first, such as kitchen cooktop supplies, bed linens, and bathroom toiletries, allows the household to function comfortably right away while remaining boxes are unpacked over the following weeks. Following a clear, well-structured master plan transforms a challenging fixer-upper property into a rewarding, beautiful home built to serve the family for generations.